The Ultimate Guide to Embedding Pictures in Illustrator: Step-by-Step Instructions

How To Embed Pictures In Illustrator

The Ultimate Guide to Embedding Pictures in Illustrator: Step-by-Step Instructions

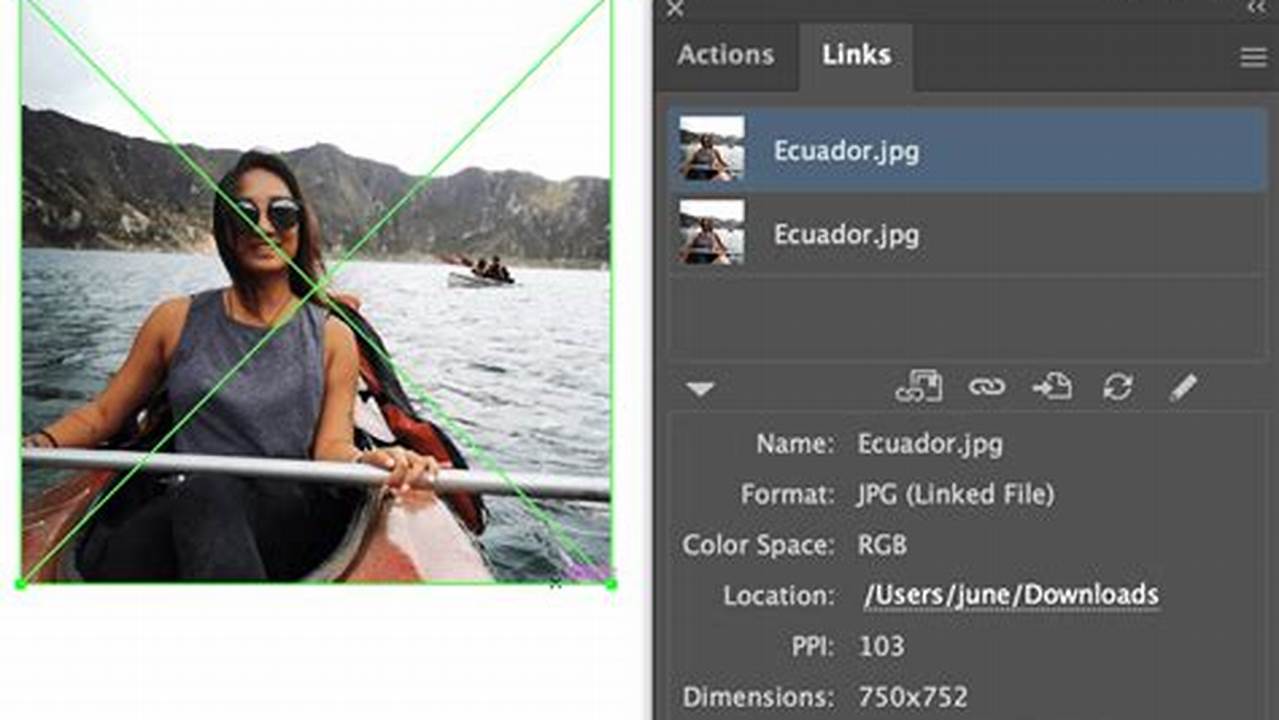
Embedding pictures in Illustrator allows you to incorporate images into your designs and artwork. To embed a picture, select the image file you want to use and drag it into your Illustrator document. You can also use the “Place” command (File > Place) to browse for and select an image file. Once the image is placed, it will be embedded in your document.

Embedding pictures has several advantages over linking them. Embedded pictures are stored within the Illustrator document itself, so you don’t have to worry about losing track of the original image file. Embedded pictures also print at a higher quality than linked pictures, as they are not subject to the resolution of the linked file.

Read more

Step-By-Step Guide: Customizing Layer Label Colors in Illustrator

How To Change Layer Label Color In Illustrator

Step-By-Step Guide: Customizing Layer Label Colors in Illustrator

In Adobe Illustrator, a layer is a way to organize and group artwork. Layers can be used to control the visibility, position, and other attributes of the objects they contain. Each layer has a label that helps to identify it, and the color of this label can be changed to make it more visible or to match the color scheme of the document.

Changing the color of a layer label is a simple process. First, select the layer in the Layers panel. Then, click on the “Label Color” icon in the Properties panel. A color picker will appear, and you can use it to select a new color for the label.

Read more

The Ultimate Guide to Modifying Workspace Settings in Illustrator

How To Update Workspace Settings In Illustrator

The Ultimate Guide to Modifying Workspace Settings in Illustrator

The workspace settings in Adobe Illustrator control the layout and functionality of the user interface. Users can customize these settings to suit their individual preferences and workflows. To update workspace settings, follow these steps:

1.Open the “Window” menu and select “Workspace”.

2.Choose a workspace from the list of presets or click “New Workspace” to create a custom workspace.

3.Make changes to the workspace layout, menus, panels, and tools as desired.

4.Click the “Save Workspace” button to save the changes.

5.The updated workspace will be available in the “Workspace” menu for future use.

Read more

The Ultimate Guide: Blurring the Edges of Eclipses in Illustrator

Illustrator How To Blur The Edges Of An Eclipse

The Ultimate Guide: Blurring the Edges of Eclipses in Illustrator

Applying a blur effect to the edges of an eclipse in Adobe Illustrator enhances the visual appeal of the design by creating a soft and gradual transition between the eclipse and the background. It adds depth and dimension to the artwork, making it appear more realistic and visually appealing.

The process of blurring the edges of an eclipse in Illustrator is relatively straightforward. Firstly, create an eclipse using the Ellipse tool. Next, select the eclipse and go to Effect > Blur > Gaussian Blur. Adjust the Radius slider to control the intensity of the blur. A larger radius creates a more pronounced blur, while a smaller radius results in a subtle blur.

Read more